How to Coat Truffles in Chocolate: Pre-Coating, Dipping and Cocoa Finishes
Coat hand-rolled ganache truffles in a thin, glossy shell that does not crack: a room-temperature centre, a hand pre-coat, one fork dip in tempered chocolate, and a cocoa or textured finish.
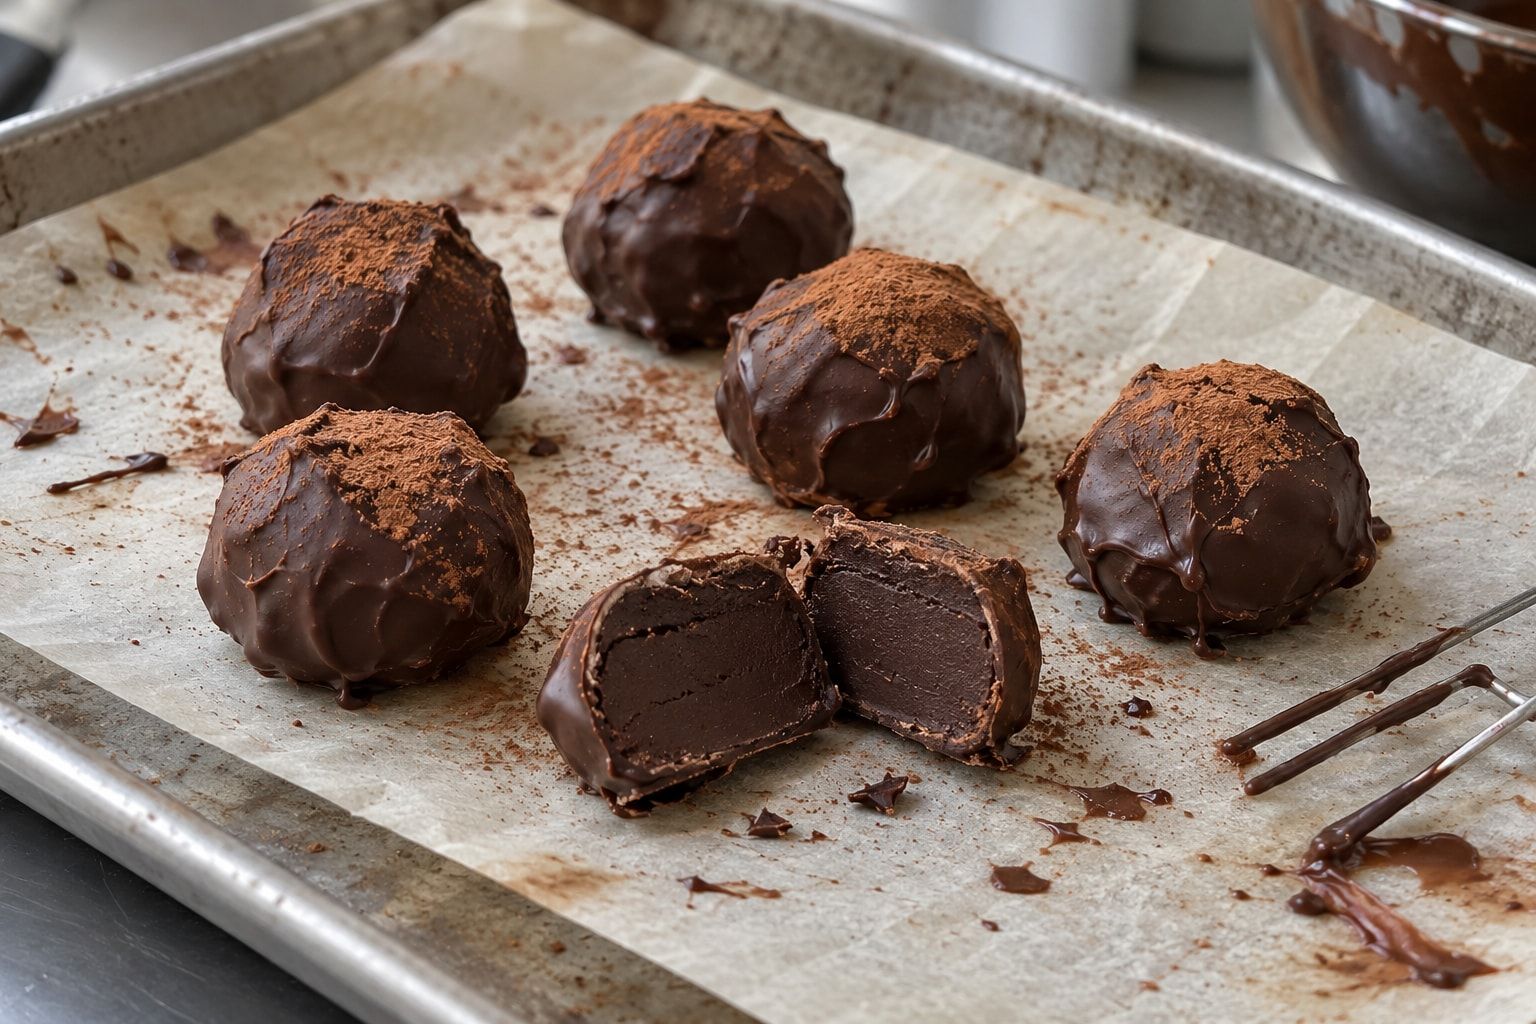
A common professional method coats a truffle twice: a thin hand pre-coat that seals and strengthens the centre, then one fork dip. Keep both coats thin so the total stays thin. Start with a firm centre at room temperature, about 18–22 °C. Pre-coat it and let that set. Then dip it once in tempered chocolate at its working temperature, tap off the excess, finish it, and let it set at 18–20 °C.
- Roll the centres and bring them to 18–22 °C, never straight from the fridge.
- Temper the chocolate and hold it at its working temperature.
- Pre-coat each centre between gloved palms and let it set.
- Dip once with a round fork, tap, scrape the underside and slide it off.
- Roll it in cocoa, texture it, or leave it plain.
- Let the shell set at 18–20 °C until it is dry to the touch. If the ganache needs the fridge, keep its total time out within about 2 hours.
This guide covers the coating. For the ganache inside, see the dark chocolate truffle ganache walkthrough.
Before You Start: Centre, Room and Chocolate Temperatures
Get the centre temperature right first. Dip a fridge-cold centre and it warms up after the shell has set. The centre expands, and the rigid shell cracks hours or days later. A cold centre also chills the chocolate around it, so the coating thickens, runs into a thick foot and grabs too much cocoa.
Roll the centres, let them firm up, and dip them at 18–22 °C. One classic reference advises keeping the gap between centre and coating under 10 °C for the best gloss: a colder centre makes the chocolate crystallize too fast and set dull. For a dark coating at 31 °C that means a centre at about 21 °C or warmer, so aim for the warm end of the range.
Work in a room at 18–21 °C with relative humidity at or below about 60–65 %. A warm room slows setting, which invites fat bloom. A cold room thickens the chocolate in the bowl.
| Chocolate | Typical working temperature | Some makers' charts run about 1 °C higher |
|---|---|---|
| Dark | 31–32 °C | 31–33 °C |
| Milk | 29–30 °C | 30–32 °C |
| White | 28–29 °C | 29–31 °C |
Working temperatures for tempered couverture. Every brand publishes its own curve; follow the one on your chocolate's pack.
As you work, crystals keep forming and the bath slowly thickens. Raise it by 0.5 °C, or stir in a little melted untempered chocolate of the same kind, to keep it fluid. Do not overshoot: just above the range, the seed crystals melt and the chocolate has to be tempered again.
Cocoa Butter Polymorphism and Tempering
Why only Form V crystals give snap and gloss, and how to temper and test chocolate before you dip.
Never dip centres straight from the fridge
Fridge-cold centres crack the shell as they warm and thicken the coating as you dip. If your ganache needs chilling to roll, roll it cold, then let the rolled centres come back to 18–22 °C before you coat them.
Pre-Coating: The Thin First Layer
Pre-coating (French pré-enrobage) is a thin first layer of tempered chocolate, left to set before the final dip. On a round truffle it goes all over. For cut centres, a thin layer (chablonnage) is normally spread over the whole slab before cutting, so each piece has a coated base and can be dipped or enrobed cleanly.
The pre-coat seals the centre and holds its shape. It also stops soft ganache sticking to the fork, sinking in the bowl and leaving crumbs in the bath. Because the centre is already sealed, the final dip can be thin. A pre-coat reduces cracking; it does not eliminate it.
Glove up and load your palm
Put about 2 tablespoons of tempered chocolate in a gloved palm.
Roll 3–4 centres at a time
Roll each centre between your palms until it is covered all over in a thin film, then set it on parchment or acetate.
Scrape your hands between batches
Warm hands push chocolate out of temper and leave a grey haze. Scrape off the old chocolate and take a fresh spoonful each time.
Let the pre-coat set
Wait until it is dry to the touch, about 5–10 minutes in a cool room. Up to about 30 minutes is fine; check that no ganache shows through before you dip.
For a classic cocoa-dusted truffle, the hand coat can also be the only coat: roll it on, then toss the truffle straight into cocoa. It gives the thinnest shell of any method.
Dipping: Fork, Hands or Enrober
Round or spiral dipping fork
Pros
- • Even second coat on pre-coated rounds
- • Clean finish if you tap and scrape well
Cons
- • Bare centres stick to the fork and leave marks
- • Slow for large batches
Hand-rolling
Pros
- • Thinnest shell
- • No tools; the traditional single coat for cocoa truffles
Cons
- • Warm hands push chocolate out of temper
- • Hands need scraping between every few pieces
Enrober
Pros
- • Fast and consistent for production
Cons
- • Needs a pre-coated base
- • Suited to flat-based centres; round truffles go on truffle-rolling lines
Drop the pre-coated truffle into the bath
Drop it in gently so the pre-coat is not chipped.
Submerge and lift
Push it under with the fork until it is covered, then lift it out on the fork's ring or spiral.
Tap off the excess
Tap the fork gently on the rim of the bowl several times, until the excess stops running off.
Scrape the underside
Draw the bottom of the fork across the rim of the bowl so the base does not carry a pool of chocolate.
Slide it off
Tilt the fork over parchment, or over a cocoa tray for a dusted finish, and slide the truffle off with a toothpick or a second fork.
Leave it alone until it sets
Moving a wet truffle smears the shell and spreads the foot.
A foot is the flat disc of chocolate that pools under a dipped truffle. It comes from excess chocolate that was not tapped off, from an over-crystallized, thickening bath that droops, or from moving the piece before it set. Tap off thoroughly, watch the viscosity of the bath, and leave each piece where it lands.
One Coat or Two, and How Thick the Shell Gets
| Approach | Result | Use it for |
|---|---|---|
| One hand-rolled coat | Thinnest shell; matte under cocoa | Classic cocoa-dusted truffles |
| One fork dip on a bare centre | Thick shell, fork marks, crumbs in the bath; a thick dip can trap air bubbles | Avoid |
| Hand pre-coat plus one fork dip | Pre-coat seals and strengthens; the total stays thin only if both coats are thin | A common professional method for rounds |
| Three or more coats | Thicker still | Not needed |
Two coats only stay thin if the chocolate is fluid. Two coats of thick, over-crystallized chocolate still make a thick shell.
There is no published standard thickness for a truffle shell; professional texts simply say it should be thin. As a practical estimate, aim for about 0.5–0.8 mm in total. Many makers aim for under about 1 mm.
The table shows how much of the finished truffle the shell makes up at each thickness.
| Total shell | 30 mm centre (~17 g): chocolate | 30 mm: share of piece | 25 mm centre (~10 g): chocolate | 25 mm: share of piece |
|---|---|---|---|---|
| 0.3 mm | 1.1 g | 6.2 % | 0.8 g | 7.4 % |
| 0.5 mm | 1.9 g | 10.1 % | 1.3 g | 11.9 % |
| 0.8 mm | 3.1 g | 15.5 % | 2.2 g | 18.1 % |
| 1.0 mm | 3.9 g | 18.8 % | 2.8 g | 22.0 % |
A perfect sphere; ganache density 1.2 g/cm³, chocolate 1.3 g/cm³; the shell is added on top of the centre's diameter. Real pieces carry more because of the foot and drips.
Use the table to plan how much tempered chocolate you need, then add a margin: real pieces always carry more than a perfect sphere. The smaller the truffle, the larger the share of chocolate at the same thickness.
For a thinner shell, start at the top of the working range, then choose a more fluid couverture, one with more cocoa butter. Tapping off well matters as much as either.
Finishes: Cocoa, Texture and Coatings
| Finish | When to apply it | What you get | Watch for |
|---|---|---|---|
| Cocoa, immediately | Straight from the fork into cocoa, while the chocolate is wet | The classic smooth, fully dusted truffle; sieve off the excess once set | Heavy coat of powder; clumps on a thick or cold coating |
| Cocoa at the tacky stage | Once the coating turns from glossy to matte and stops flowing; shake the tray so the truffles roll | A textured, set shell | Wait too long and little cocoa sticks |
| Hedgehog (grid rolling) | After a short wait, roll the dipped truffle over a wire grid with a fork | Spiky relief with no powder at all; lift it straight onto paper | Too early: the pattern flows back. Too late: the shell breaks on the grid |
| Nuts, sugar, other coatings | On the wet coating | Chopped nuts, coconut, cocoa nibs, icing sugar, fruit powder, feuilletine | Have the coating ready before you dip |
| Transfer sheet | Press onto the wet coating; peel when hard | A printed pattern | Peel only after a full set |
| Drizzle | After the shell has set | Contrast lines | Use tempered chocolate for the drizzle too |
Finishes for dipped truffles, from wettest to driest coating.
For cocoa, use fine, unsweetened, sifted powder; Dutch-process cocoa is the common choice. Keep it cool and in a thin layer, and shake the tray rather than burying the truffles. Its cocoa butter begins to melt around 30 °C, so high-fat cocoa (20–22 % fat) gets sticky and clumps on a warm tray. A fresher, cooler or lower-fat (10–12 %) powder should clump less.
Thin Textured Shell with Only a Light Dusting of Cocoa
This finish keeps the textured look of a hand-made truffle without the thick coat of powder of the classic method. No source measures how much cocoa sticks at each stage. A less tacky surface should simply pick up less.
Build two thin layers
Hand pre-coat, let it set, then give one thin fork dip with fluid chocolate at the top of its working range. Tap off thoroughly.
Wait for the change
Watch the surface turn from glossy to matte. It should feel tacky and no longer flow.
Add the texture
Either roll the truffle once over a wire grid with a fork, or set it in a tray with a thin layer of cocoa and shake the tray so it rolls.
Let it set fully, then sift
Leave it at 18–20 °C until the shell is hard, within the 2-hour limit for a fridge ganache, then shake off the loose cocoa in a sieve.
Calibrate the wait on 5–6 test pieces
The right moment depends on your chocolate, the room and the centre temperature, so no fixed number of seconds works everywhere. Dip 5–6 test pieces and texture them at staggered times, for example 10, 20, 30, 45 and 60 seconds after dipping, extending if needed. Pick the one you like and use that wait for the batch.
Troubleshooting Truffle Coating
| Problem | Likely cause | Fix |
|---|---|---|
| Cracks hours or days later | Cold centre expanding as it warms; a very soft centre, or fermentation in a high-aw centre | Dip at 18–22 °C, always pre-coat, use a firmer, lower-aw ganache |
| Leaks or weeping | A crack, a pinhole or a bare spot | Pre-coat fully; check for gaps before dipping |
| Feet or a thick base | Excess not tapped off; over-crystallized chocolate; moved too early | Tap and scrape; warm the bath by 0.5 °C; leave pieces to set |
| Thick shell or air bubbles | Thick or over-crystallized chocolate; one heavy dip; cold centres | Two thin coats; fluid chocolate; room-temperature centres |
| Dull spots | Set too cold or too fast | Let them dry at 18–20 °C before any cooling |
| Grey sides or streaks | Pieces set touching or too close; chocolate out of temper | Space pieces out; re-temper |
| Grey, greasy bloom after days | Fat bloom: slow cooling in a warm room, under- or over-tempered chocolate | Control the temper and the room |
| White, dry, gritty bloom | Sugar bloom from condensation after the fridge | Keep truffles in a closed box while they warm up |
| Shell never sets, melts on your fingers | Chocolate not tempered | Temper it, then test it on a strip before dipping |
| Fork marks | Dirty fork, thick chocolate, no pre-coat | Wipe the fork; keep the bath fluid; pre-coat |
| Too much cocoa or clumps | Thick or wet coating; warm, high-fat cocoa | Thin pre-coat and thin final dip; drain well; use cool, sifted cocoa and refresh it often; sieve after a full set |
Symptom, cause and fix for dipped and rolled truffles.
Let finished truffles set at 18–20 °C until they are dry to the touch. Do not put wet truffles straight into the fridge: they turn grey and dull. Once the shell is dry, a short cool spell, ideally at about 10–15 °C, completes crystallization. When they come out of the fridge, keep them in a closed box so condensation lands on the box, not on the chocolate. Bloom has its own guide: why chocolate blooms and how to prevent it.
A fridge ganache cannot sit out to set for hours
A long setting time at room temperature is only for a ganache that is safe out of the fridge: one measured below aw 0.88. A classic cream ganache or a home 2:1 truffle ganache is a fridge product. Coat it in small batches, keep its total time out of the fridge within about 2 hours, counting the time the centres spend warming up, and refrigerate the truffles in a closed box as soon as the shell is dry. See how long ganache lasts.
The shell does not make the truffle shelf stable
A chocolate shell slows moisture exchange, but it is a partial barrier, not a seal, and it does not lower the water activity of the ganache inside. How long a truffle keeps, and whether it needs the fridge, depends on the ganache’s water activity. See how long ganache lasts and water activity in ganache.
Truffle Coating Questions
Do two coats make the truffle shell too thick?
Why do my chocolate truffles crack?
Why does too much cocoa stick to my truffles?
Should I put dipped truffles in the fridge to set?
Which cocoa powder is best for coating truffles?
Can I skip tempering the coating chocolate?
How long should the pre-coat set before dipping?
Related Articles
Dark Chocolate Truffle Ganache: A Step-by-Step Calculator Walkthrough
Learn to formulate a dark chocolate truffle ganache against an Aw 0.75 target using the Formul.io calculator. Covers ingredient entry, metric interpretation, adjustments, and process control toward a 21-day ambient shelf life.
Cocoa Butter Polymorphism: Temper Chocolate Reliably
Understand cocoa butter’s six traditional crystal forms, target Form V through controlled pre-crystallization, and reduce bloom through measured process and storage controls.
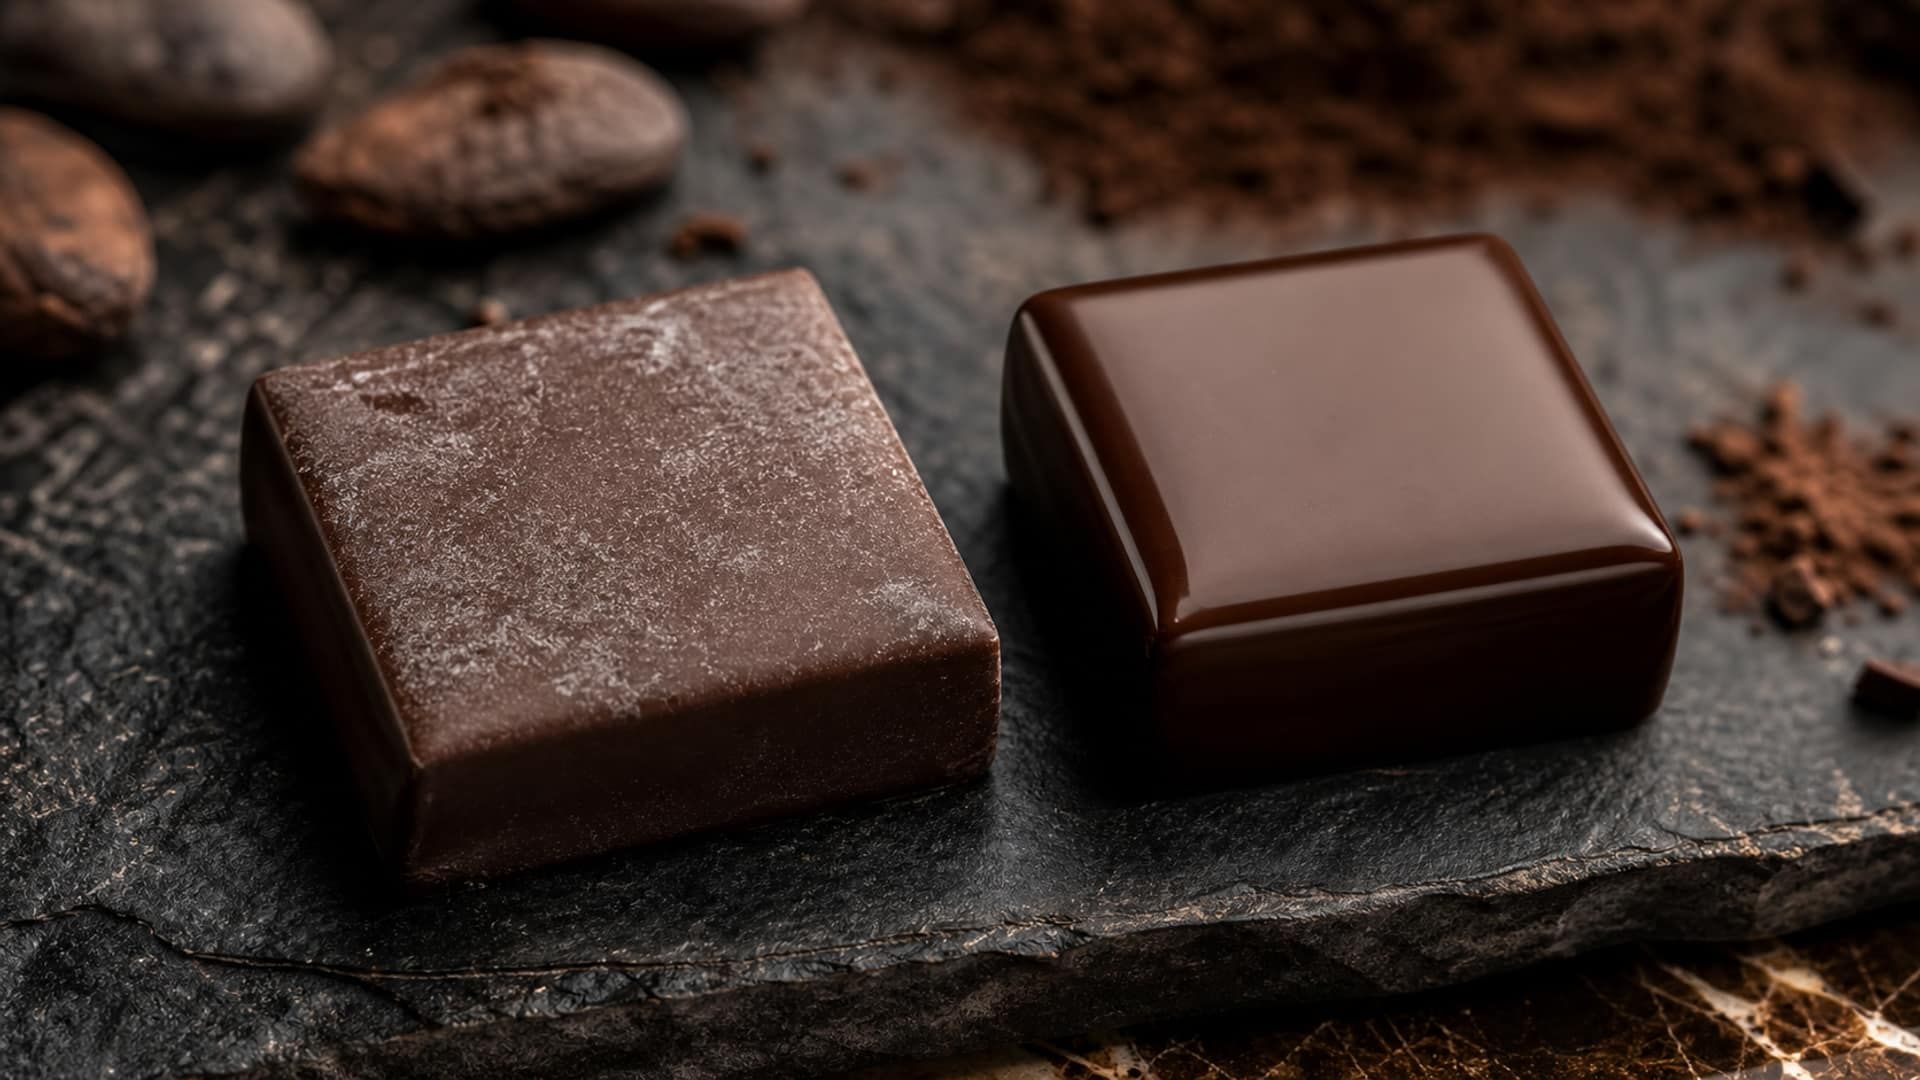
Fat Bloom and Sugar Bloom in Chocolate: Diagnose and Prevent
Distinguish fat migration and polymorphic change from condensation-driven sugar bloom, then control temper, storage, and dew point.