Confectionery Shelf-Life Testing: Plan Your First Study
Build a retention-sample plan for a filled chocolate: choose checkpoints, calculate the packs needed, and record results without confusing a trial target with a validated date.
A CSV template for lots, checkpoints, package observations, measurements, and laboratory references.
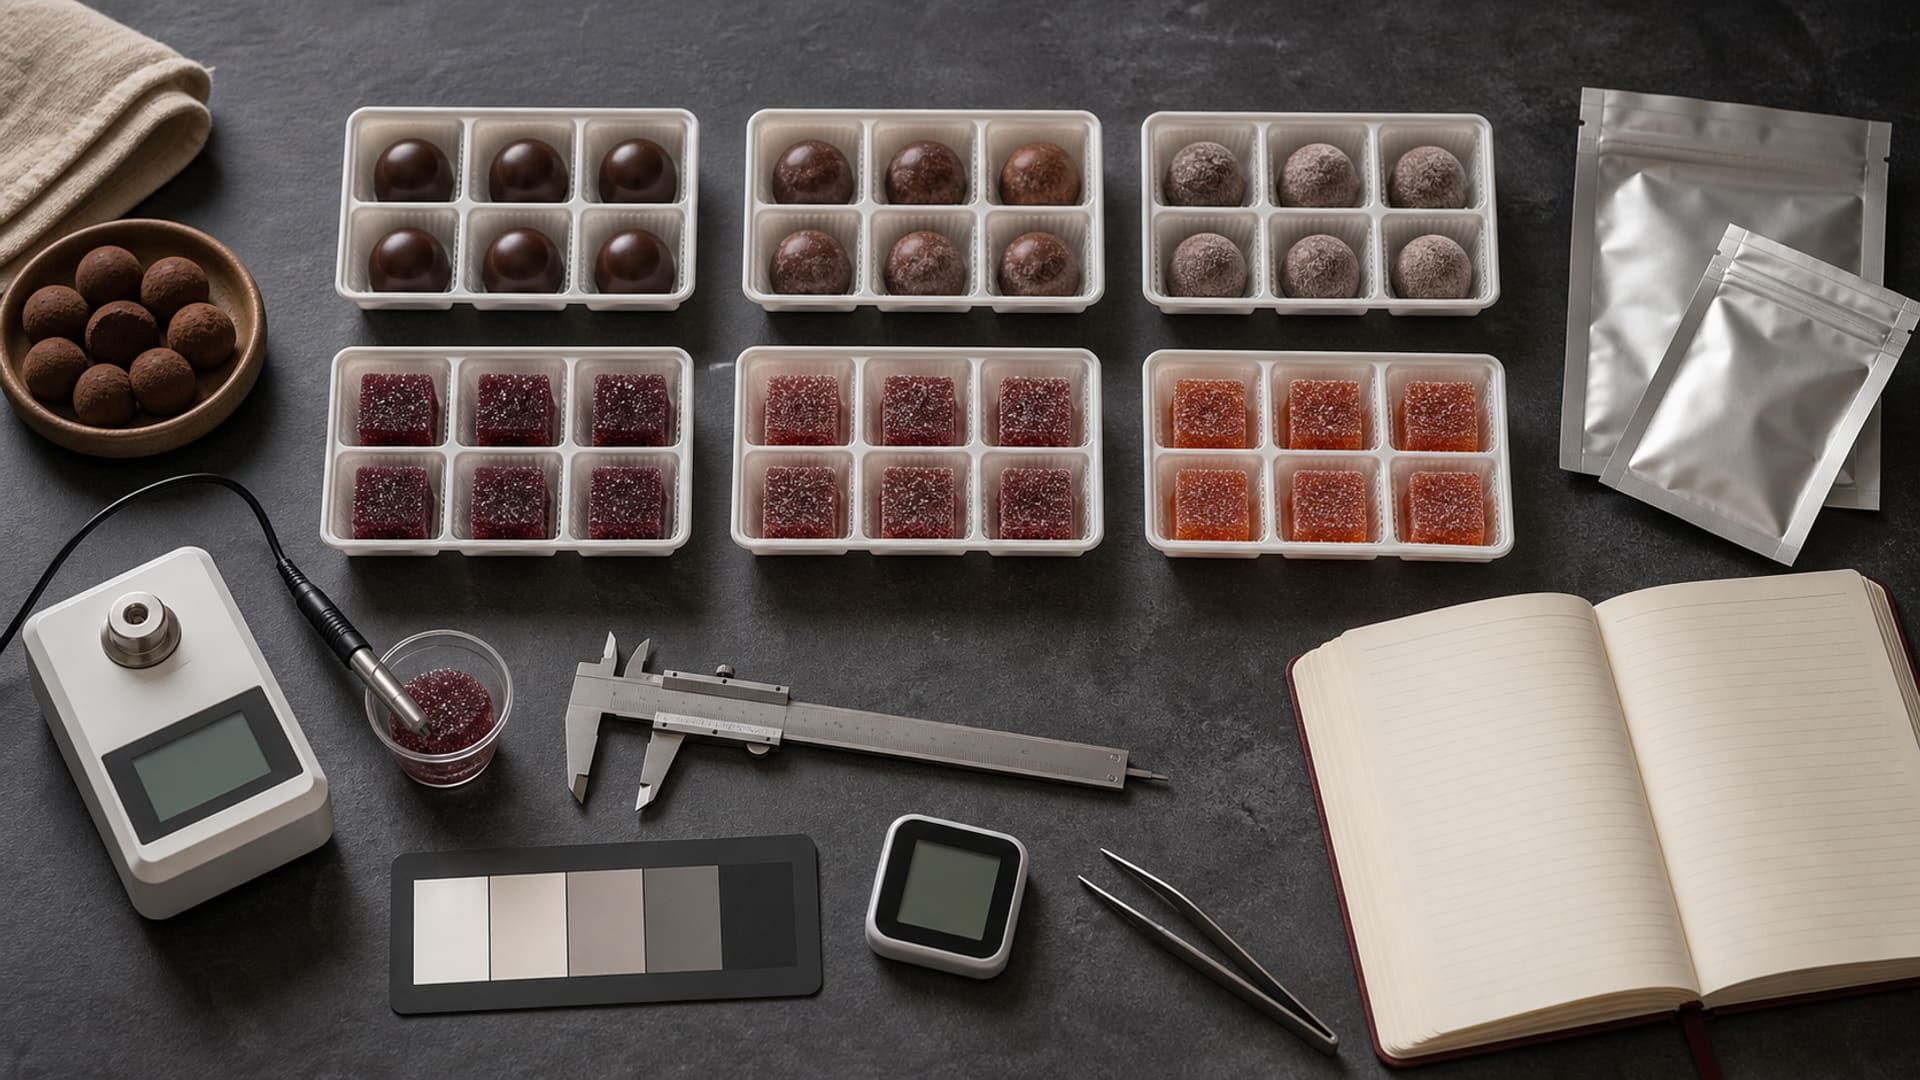
You have a filled chocolate that looks and tastes right after setting. Before choosing a date for its box, you need to find out how the complete bonbon changes in the package and storage conditions your customer will use.
Start with a written question: will this product meet our agreed safety and quality criteria through the proposed storage period? The worked plan below shows how to organize that question. Its dates and sample allocation are a planning example, not a shelf-life recommendation for ganache.
Define the Product and the Decision
Choose one recipe version, one piece size, one shell, and one package. Write down the manufacture and packing dates separately: time spent setting or waiting for packaging is still part of the product’s history.
A study of filling in an open cup does not establish the life of a finished bonbon. The shell changes moisture movement, and the retail pack changes exposure to air, light, handling, and humidity. Use the actual pack, including inserts and closures, wherever those affect the product.
For this example, imagine a producer evaluating a 21-day unopened storage period for boxed bonbons. The study plan specifies 16°C with a monitored 14–18°C range. Those figures define this illustrative experiment; they do not establish that this storage route is appropriate for an untested filling. Have the route assessed before making samples.
| Protocol field | Worked planning entry |
|---|---|
| Product | One named bonbon recipe, shell and filling weights, retail box and insert |
| Question | Do finished unopened packs meet the agreed criteria through day 21? |
| Lots | Three independent production batches, labelled A, B and C |
| Checkpoints | Days 0, 7, 14, 21 and 28 from the declared study start |
| Storage | Example study: 16°C target, monitored 14–18°C range; retain the temperature log |
| Laboratory work | Laboratory specifies hazards, methods, sample masses and acceptance limits |
| Quality comparison | Photographs, pack condition and agreed texture/flavour descriptors against day zero |
Example protocol fields. The proposed 21 days is a question to test, not an approved date.
Define what would make the product unacceptable before seeing results. Examples of quality failures include a leaking filling, visible bloom, an unacceptably hard centre, or a flavour defect. Replace words such as “bad texture” with a description your team can recognize consistently.
Microbiological criteria cannot be copied from a general bonbon article. Product composition, process, contamination routes, storage, and market requirements determine the necessary evidence. Give the laboratory your recipe and process rather than asking only for a generic “shelf-life test”.
A prediction does not establish a date
Use calculated aw to compare recipe options. Commercial shelf life needs evidence from the finished product. A satisfactory aw result is one measurement in that assessment, not a substitute for the relevant safety controls.
Allocate Packs Before Production
Keep independent batches separate. Splitting one cook into three bowls does not represent three production runs, because the ingredient handling and cooking history are shared.
In the example, allocating three unopened packs from each of three lots at five checkpoints gives 3 × 3 × 5 = 45 packs. Keeping three additional reserve packs per lot adds nine, for 54 packs in the plan. These are retail units, not grams of sample.
This allocation is deliberately easy to audit. It illustrates the arithmetic of a retention plan; it does not override a laboratory method that needs larger samples or additional replicates. Ask whether one pack contains enough material for every planned destructive measurement, and whether microbiology and texture tests require separate packs.
The FSAI shelf-life guidance recommends three replicates from three production batches per interval when no sample number is specified. Discuss how that starting recommendation applies to your product and methods; do not assume a small box can supply every analysis simply because the pack count is correct.
Agree the test menu
Obtain the required sample mass, number of replicates, handling and transport instructions from the laboratory.
Calculate the allocation
Multiply independent lots by checkpoints by packs per checkpoint. Add any separate packaging conditions and reserve packs.
Label before storage
Give each unit a lot, checkpoint and replicate code, such as A-D07-02. Keep unopened reserves clearly separate.
Record the starting condition
Photograph the sealed pack, record its mass and storage position, and log when storage begins.
If you compare two packaging films, each needs its own sample allocation. Reusing the same sample for both conditions or repeatedly opening a “retention pack” changes the question and makes the comparison harder to interpret.
Place loggers where they describe the samples’ actual environment. Record excursions and outages. A room set point is useful operating information, but it cannot show what happened during transport or a warm afternoon.
Follow One Measurement Order
At a checkpoint, retrieve only the assigned units. Inspect them before opening: a failed seal or wet insert may explain a later measurement. Record the observation even when the laboratory result will arrive later.
Use the same sampling and instrument method each time. For aw, record sample temperature, preparation, calibration and equilibration according to the instrument procedure. For texture, keep the product temperature and measurement method consistent so “harder” does not merely mean “colder”.
Download the CSV recording sheet. It has one row per sample, with blank measurement fields. The first entries are sample codes and planned checkpoints, not fabricated test results.
| Order | Record | Why it helps |
|---|---|---|
| 1 | Lot, unit code, date and actual storage history | Connects the result to the correct conditions |
| 2 | Sealed-pack condition and mass | Preserves evidence before destructive work |
| 3 | aw and relevant measurements with method and temperature | Makes results comparable across checkpoints |
| 4 | Laboratory report reference | Keeps the scientific result attached to the sample |
| 5 | Quality observations for samples cleared for assessment | Records the limiting defect without hiding it in a single score |
| 6 | Decision, deviation and next action | Shows why the study continued, changed or stopped |
An unchanged average can hide a deteriorating batch. Plot or inspect each lot separately before calculating a combined summary, and retain individual results rather than only a green/red conclusion.
Do not taste visibly spoiled, leaking or otherwise suspect samples. Sensory assessment follows the product’s safety plan. If a result breaches a safety criterion, hold the affected product and investigate under that procedure; this article’s spreadsheet is not a release authority.
Turn Findings Into a Product Specification
Suppose the day-21 assessment is unacceptable but day 14 was acceptable. You have evidence of failure by day 21, not proof that every day up to day 20 is acceptable. Investigate the mechanism and, where needed, add checkpoints within that interval.
If you also stored packs warmer to see failures sooner, Q10 and Arrhenius show how to translate that result to normal storage and why the estimate still needs this real-time study.
Similarly, a good day-28 result does not authorize a date beyond the study. The conclusion must state the tested recipe, process, package and storage limits, and explain the margin chosen by the responsible person. Do not silently replace an inconvenient result with a repeat; record why a repeat was justified.
A useful report ends with a decision the next production team can use: the approved specification, required controls, retained evidence, and changes that trigger review. A different cream specification, fruit addition or packaging film should lead back to the relevant assumptions in that report.
Are 54 packs enough for any confectionery study?
Can I use one production batch to begin?
Can accelerated storage replace the proposed route?
When should the study be repeated?
Reference: Food Safety Authority of Ireland, Guidance Note No. 18: Validation of Product Shelf-life, Revision 5 (2022), especially the durability-study design and sample-allocation sections. The schedule above is an illustrative application, not a validated study conducted by Formul.io.
Related Topics
Related Articles
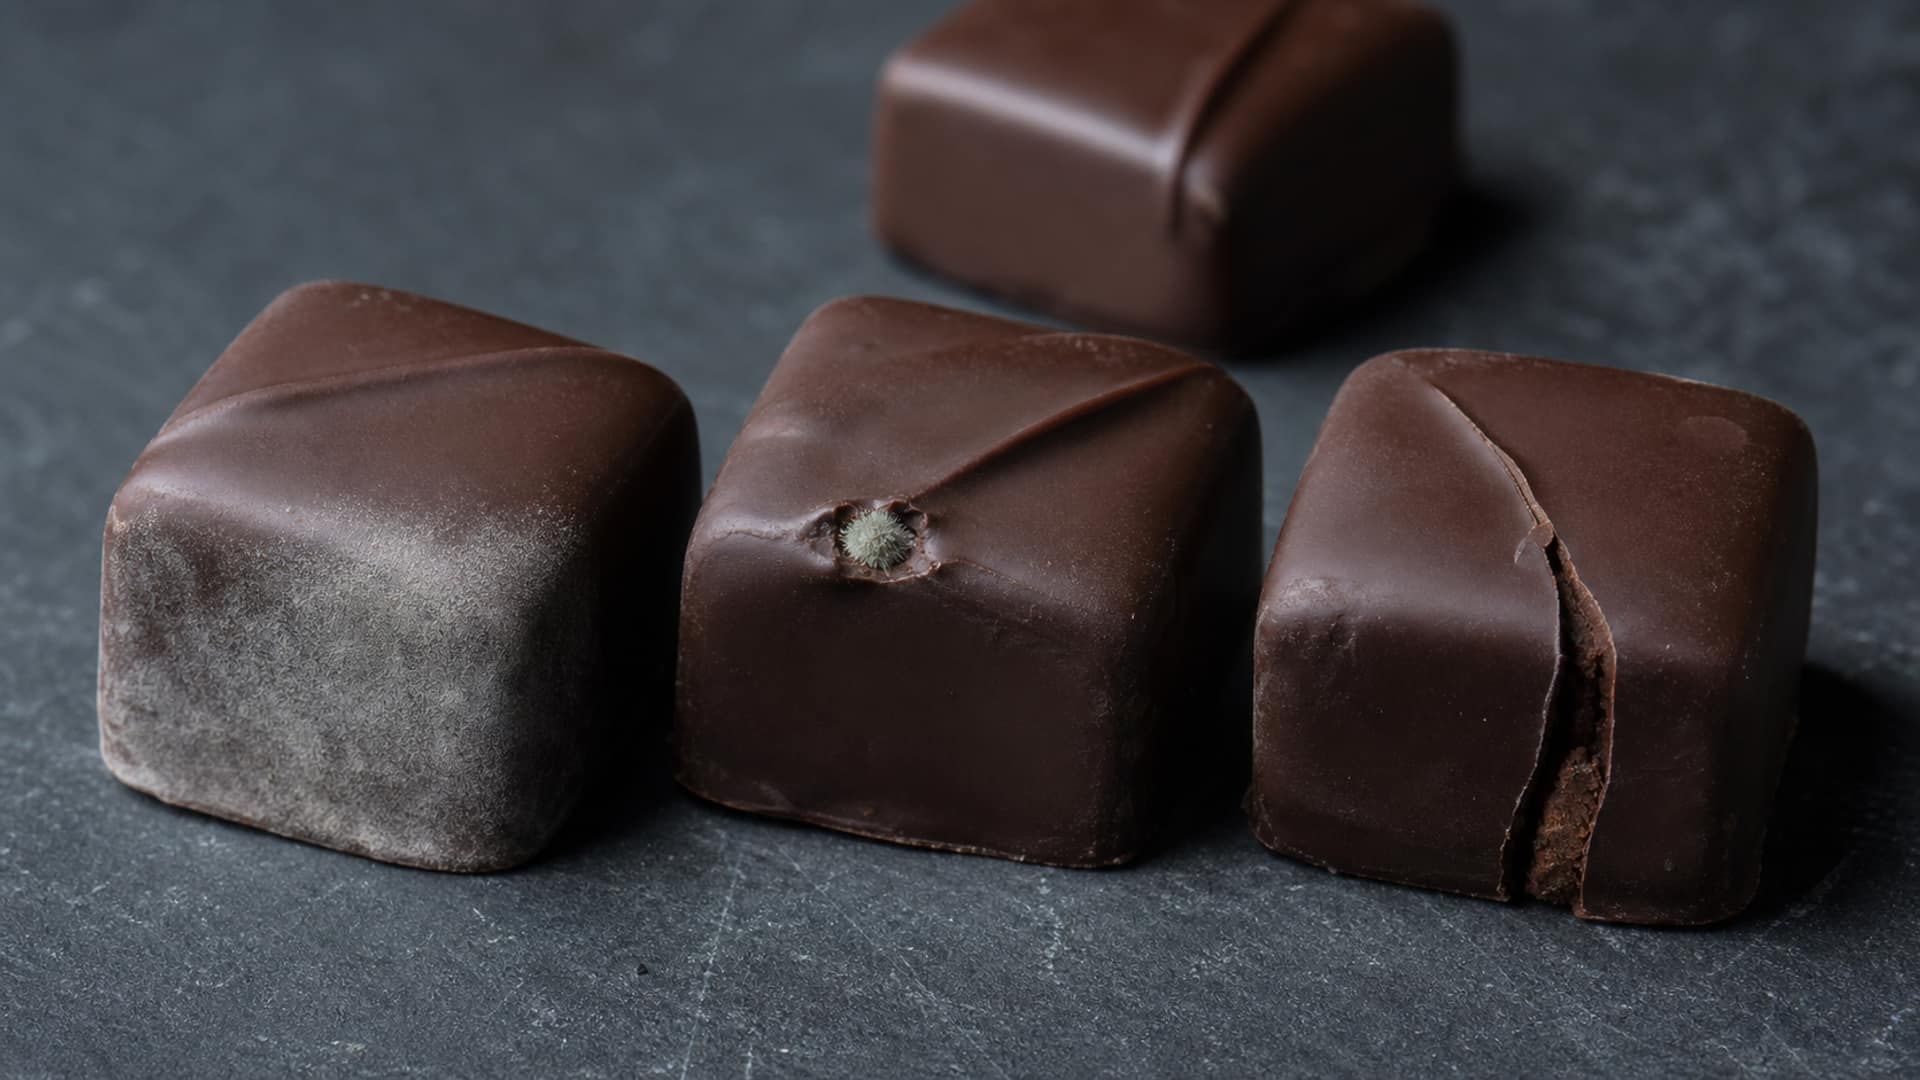
My Confectionery Spoils Too Quickly: Diagnosis & Solutions
Product failing before expected shelf life? This troubleshooting guide helps you identify the cause—whether mold, crystallization, texture loss, or rancidity—and provides targeted solutions for each spoilage type.
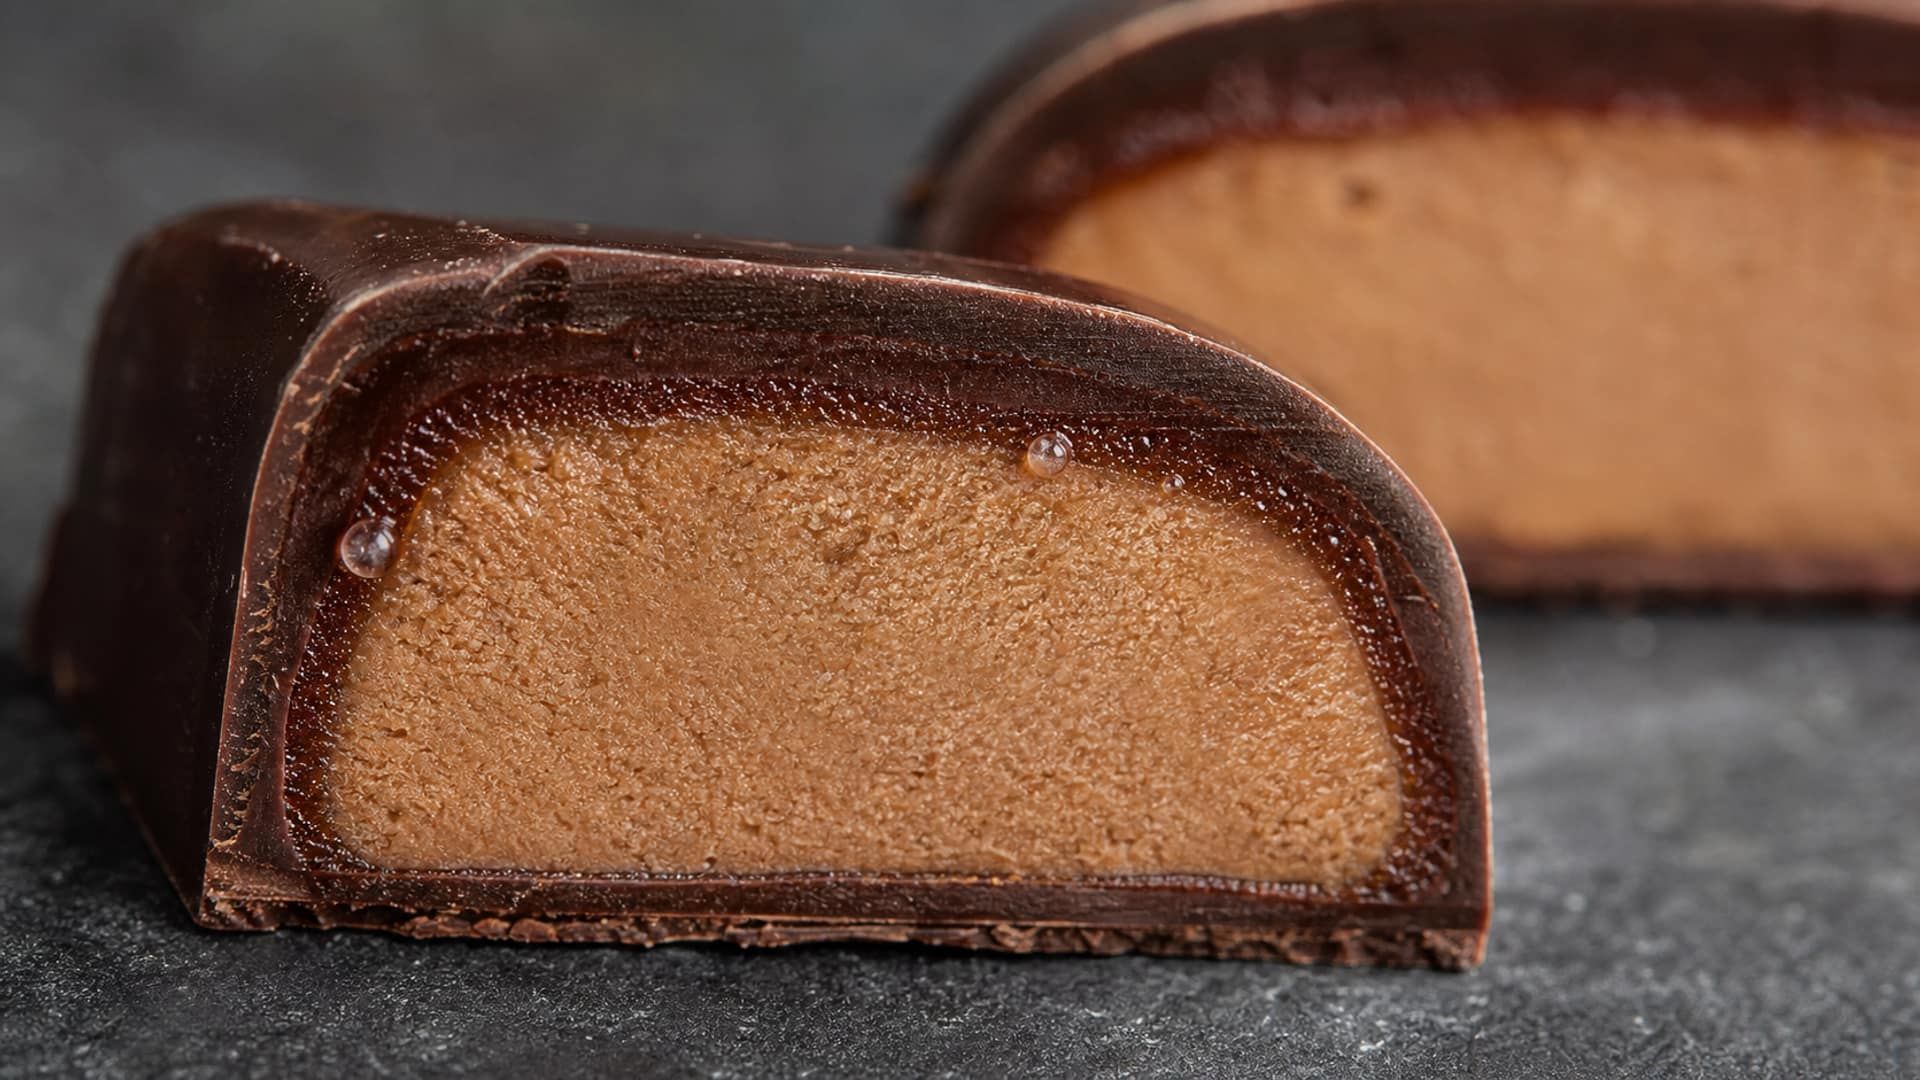
Moisture Migration: Water Activity, Fick's Law, and Packaging
Predict moisture movement by separating its water-activity driving force from diffusion rate, and compare packaging only with WVTR units and test conditions attached.
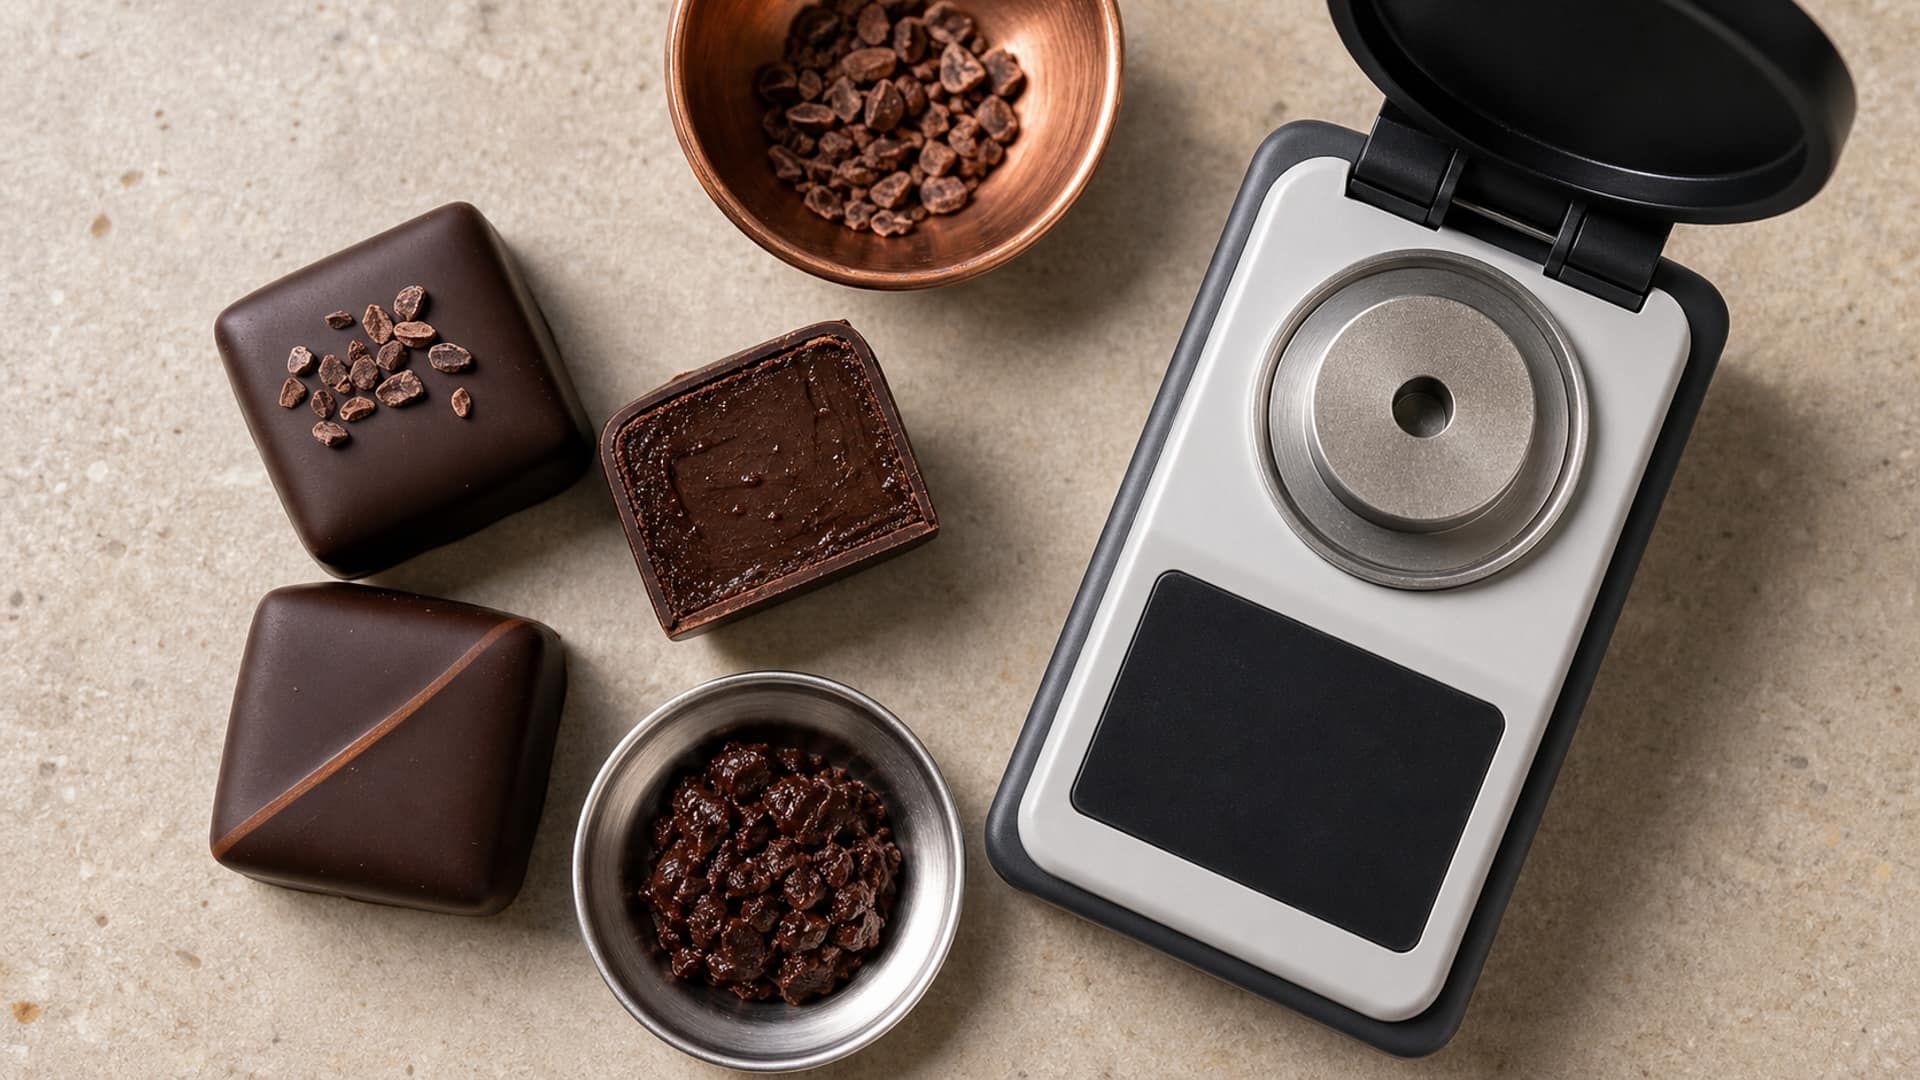
Water Activity Calculator for Ganache and Filled Chocolates
Calculate water activity from your formulation, compare ingredient changes, and use recipe-level predictions to plan shelf-life testing for filled chocolates.