Almond Dragée: Building a Multi-Layer Coating from Core to Finish
A complete production guide to multi-layer sugar panning for almond dragée: gum arabic sealing, 20–30 engrossing layers, smoothing, coloring, and final polish — with calculator walkthrough.
What Makes a Great Almond Dragée
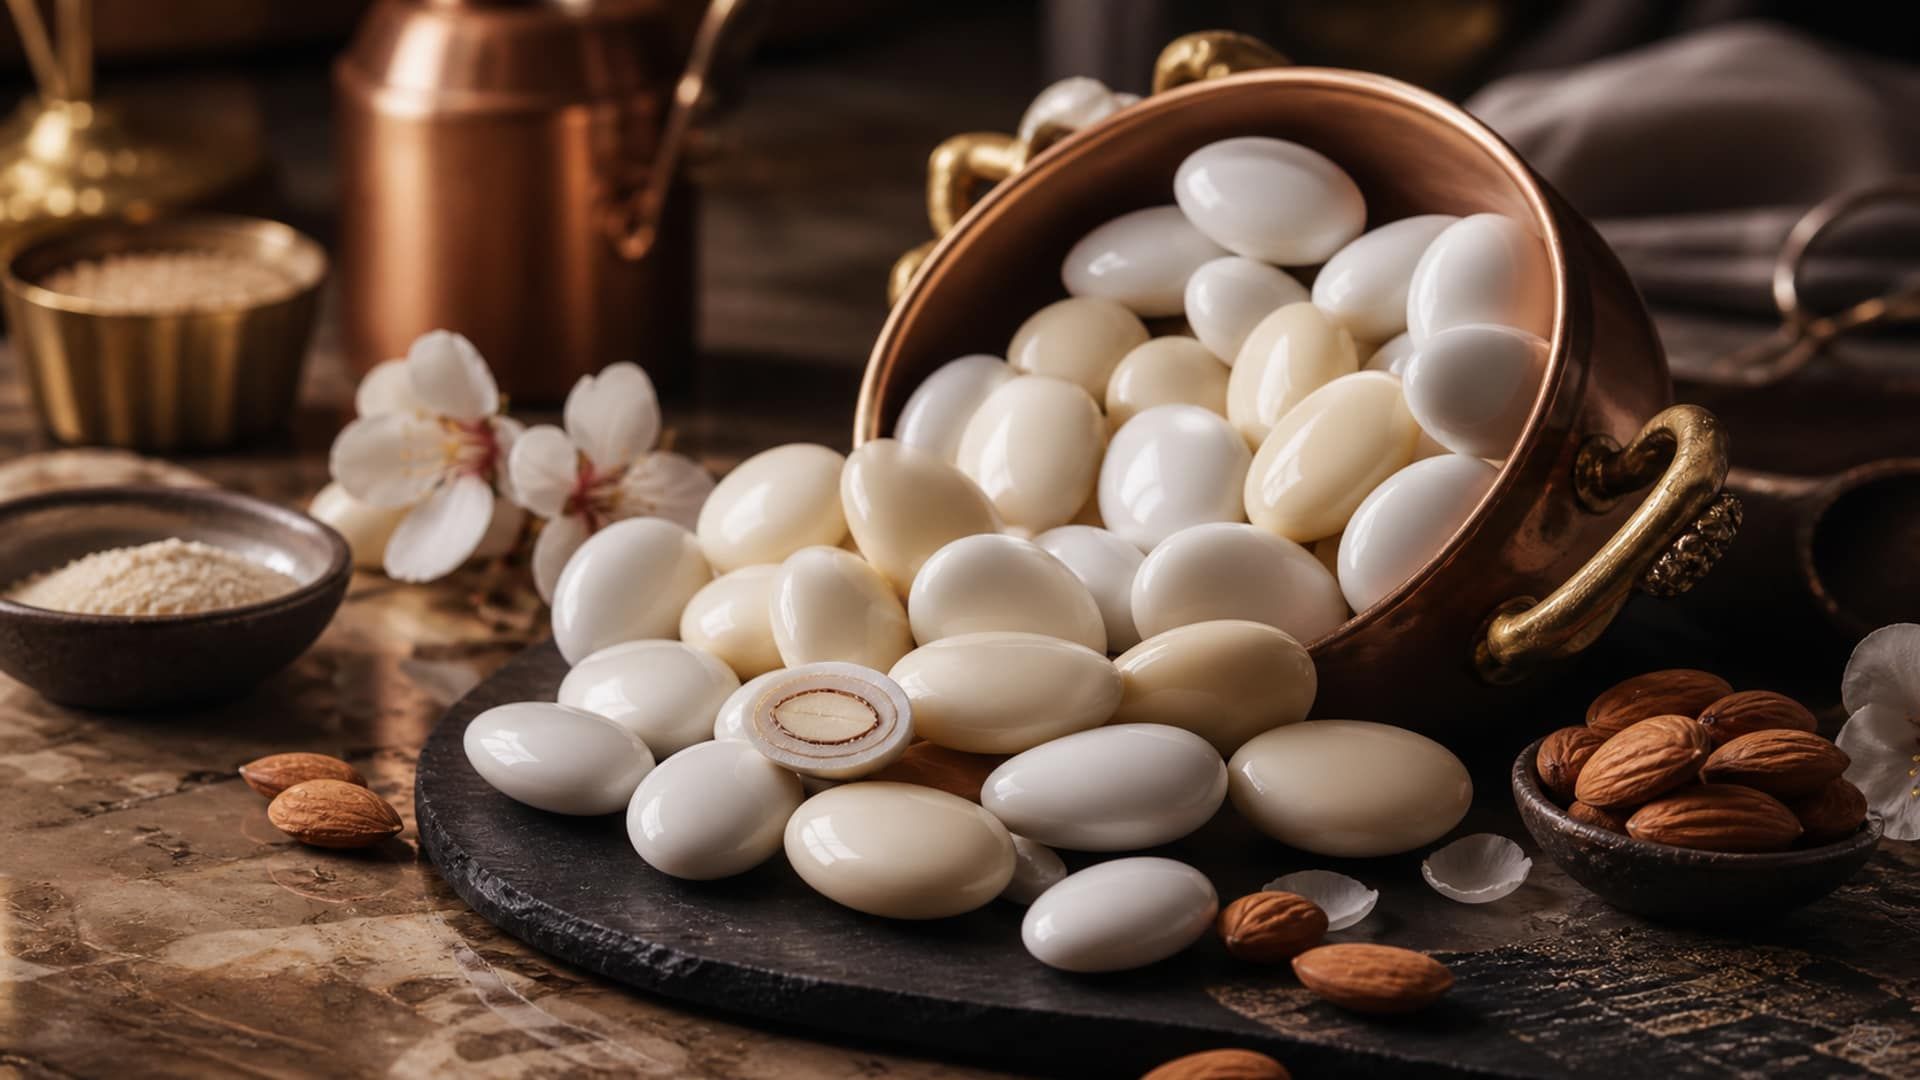
Almond dragée — known as Jordan almonds, sugared almonds, or confetti di mandorla in Italian tradition — is one of the oldest confections still produced at industrial scale. The product’s appeal rests on three things: a perfectly smooth, opaque sugar shell with high gloss; uniform color across the entire batch; and a specific weight ratio between core and coating that determines both mouthfeel and cost. Achieving all three simultaneously requires disciplined, stage-by-stage process control.
The coating is built in five distinct stages: a gum arabic sealing coat, a sugar engrossing (building) phase of 20–30 layers, a smoothing phase using more dilute syrup, a coloring stage, and a final polish. Each stage has its own syrup concentration, pan temperature, application rate, and drying protocol. Skipping or rushing any stage produces defects — pitting, roughness, color bleed, or dull finish — that cannot be corrected downstream.
Target Weight Ratio
A 20–30 layer hard-panning schedule builds a coating of roughly 55–65% of the core weight — about 35–40% of the finished piece by mass. A 5 kg charge of roasted almonds therefore discharges at approximately 8 kg. The heavier 50/50 shell of traditional Jordan almonds is a different schedule: coating equal to 100% of core weight takes roughly 45–60 engrossing layers, which is why the hard-panning literature describes 30–60 coats as the normal working range. Fix the ratio you are aiming for before the first ladle — it sets the layer count, the syrup budget, and the piece count per kilogram.
Core Selection and Preparation
The almond core determines everything that follows. Panning applies coating uniformly only when cores are consistent in size and shape. A batch with high size variation will produce pieces with radically different final weights — large cores receive proportionally less coating; small cores receive too much. Reject lots with a coefficient of variation above 8% by longest dimension before panning begins.
Almond Grade and Moisture Requirement
Raw almonds typically carry 3–6% moisture, which puts them anywhere from about aw 0.3 to 0.6 depending on how they were stored. Toward the top of that range, the gum arabic sealing coat absorbs water from the nut surface, weakening adhesion and causing early layers to crack or peel. Almonds must be roasted or oven-dried to below 4% moisture (aw 0.28–0.32) before coating begins. That band also sits inside the aw 0.25–0.35 window where almond fat oxidises slowest. This is non-negotiable: a roasted almond in that band has minimal moisture gradient against the finished sugar shell, which itself equilibrates around aw 0.25–0.35 — and it is that small gradient, not the absolute value, that gives the product its long-term stability.
| Parameter | Target Value | Reject Threshold | Measurement Method |
|---|---|---|---|
| Moisture content | < 4% | > 5% | Karl Fischer or oven loss |
| Water activity (aw) | 0.28–0.32 | > 0.40 | aw meter at 25°C |
| Size grade (longest dim.) | 18–22 mm preferred | CV > 8% | Caliper on 50-piece sample |
| Surface defects | < 2% blemished | > 5% blemished | Visual sort |
| Roast level | Light-medium (pale gold) | Raw or dark roast | Color meter or visual |
Core Specification for Almond Dragée Panning
Do Not Use Raw Almonds
Raw almonds near the top of that range will migrate moisture into the first sugar layers, dissolving them and causing catastrophic peeling within days. Always verify aw with a calibrated meter before loading the coating pan. If almonds are over-dried (aw < 0.20), they may also crack the coating shell from thermal contraction during refrigerated storage.
The Five-Stage Coating Process
Each of the five stages serves a distinct function. The table below summarizes parameters before the detailed step-by-step instructions that follow.
| Stage | Layers | Syrup/Solution | Brix / Concentration | Function |
|---|---|---|---|---|
| 1. Sealing (gum arabic) | 1–2 | Gum arabic solution | 40% w/w | Seal core, improve adhesion |
| 2. Engrossing (building) | 20–30 | Sucrose syrup | 72 Brix | Build coating mass and size |
| 3. Smoothing | 4–6 | Sucrose syrup | 65 Brix | Fill surface irregularities |
| 4. Coloring | 2–4 | Sugar + pigment solution | 60–65 Brix | Uniform opaque color |
| 5. Polishing | 1 | Carnauba wax / shellac glaze | N/A | High gloss, moisture barrier |
Five-Stage Coating Summary for 1 kg Almond Core Batch
Stage 1: Gum Arabic Sealing Coat
Gum arabic (acacia gum) is the universal adhesion primer for sugar panning. Its highly branched polysaccharide structure creates a tacky, fast-drying film that mechanically bonds the first sugar crystals to the almond surface. Without it, the initial sugar layers slide off the smooth, oily almond skin during pan rotation.
Gum Arabic Solution Preparation
40% gum arabic solution (by weight):
- Gum arabic powder: 400 g
- Purified water (60°C): 600 g
- Dissolve with stirring over 30 minutes. Allow to cool to 40°C before use. Filter through 200-micron mesh to remove lumps.
Application rate: 10–15 g of solution per kg of almonds per layer. Note which basis you are working in — that is 1.0–1.5% of core weight as solution, but only 0.4–0.6% as gum solids, since the solution is 60% water.
Load almonds into the coating pan
Load roasted almonds at room temperature. Pan should be at ambient temperature (18–22°C). Pan speed: 12–16 RPM for a 60 cm pan. Higher speeds fragment almonds; lower speeds cause clumping.
Apply first gum arabic layer
Ladle or spray 10–15 g of 40% gum arabic solution per kg of almonds while the pan rotates. Distribute evenly. The surface will appear wet and slightly tacky — this is correct. Do not apply more solution until the first application is absorbed.
Dry with warm air
Apply gentle warm air (35–40°C) for 8–12 minutes until the surface is no longer sticky but has a matte, slightly rough texture. Over-drying causes the gum film to become brittle and provides poor adhesion for the next layer.
Apply second gum arabic layer (optional)
For almonds with particularly smooth or oily surfaces, apply a second gum layer using the same protocol. Total across two layers: 20–30 g of solution per kg of almonds, which is 8–12 g of gum solids per kg — 0.8–1.2% of core weight. Weigh the batch before and after to confirm.
Verify adhesion before proceeding
Cut 3–5 pieces in half. The gum layer should appear as a thin translucent film adhering tightly to the nut surface. Any peeling or crumbling indicates inadequate drying or poor gum quality. Do not proceed to Stage 2 until adhesion is confirmed.
Stage 2: Engrossing (Building) Coat — 20 to 30 Layers
Engrossing is the core production stage: 20–30 applications of 72 Brix sucrose syrup, each layer applied and dried before the next. Each layer deposits 0.01–0.02 mm of sugar crystal, which at the application rates below is 1.4–2.2% weight gain per layer. Over 25 layers, this builds a coating around 0.5 mm thick — roughly three quarters of the total coating weight.
72 Brix Engrossing Syrup
72 Brix sucrose syrup:
- Sucrose: 720 g
- Water: 280 g (total batch 1000 g)
- Dissolve at 85°C. Hold at 80°C during application.
- At 72 Brix, 72% of the syrup mass stays behind as sugar once the water has evaporated. That fraction is what every weight-gain calculation below runs on: divide a target mass of deposited solids by 0.72 to get the syrup you must ladle. Keep ladled syrup at or below about 75 Brix: above that, premature crystallization in the ladle creates grainy layers. Treat 75 Brix as a craft ceiling for open-pan work, not a hard rule; industrial hot panning runs higher-solids syrups under tighter control.
Weight gain per engrossing layer is predictable and forms the basis of batch planning. The coating weight formula for a single layer applied to an ellipsoidal almond core is:
Coating Weight Calculation per Layer
Layer weight (g) = Surface area (cm²) × Layer thickness (cm) × Coating density (g/cm³) × Shape factor
For a size 20/22 almond (20 mm × 11 mm × 8 mm ellipsoid):
- Surface area ≈ 5.1 cm²
- Layer thickness: 0.001–0.002 cm (0.01–0.02 mm)
- Sugar crystal density: 1.58 g/cm³
- Shape factor: 1.05 (slightly irregular surface)
Layer weight ≈ 5.1 × 0.002 × 1.58 × 1.05 ≈ 0.017 g per piece per layer
Over 25 layers: 25 × 0.017 g ≈ 0.43 g coating per piece from engrossing alone. Surface area grows as the shell builds, so late layers deposit a little more than early ones — the figure above is the average the batch weight check should confirm.
Set up syrup and airflow
Keep 72 Brix syrup at 80°C in a heated vessel adjacent to the pan. Set warm air at 40–45°C flowing through the pan. Pan speed: 12–16 RPM. Ensure all surfaces in the pan are evenly coated with gum arabic before the first engrossing layer.
Apply first engrossing layer
Ladle 20–30 g of 72 Brix syrup per kg of batch into the rotating pan — about 120 g for a 5 kg charge at the start, rising as the batch gains weight. That is the upper half of the 10–30 g/kg (1–3% of batch weight) range used in hard panning; smaller pans and smaller pieces work toward the lower end. Use a slow, even pour across the tumbling mass. The syrup should coat all pieces within 30–60 seconds of rotation. Do not pour faster — flooding causes clumping.
Dry between layers
Allow 15–25 minutes of rotation with warm air after each layer. The batch is ready for the next layer when: (a) pieces no longer stick together when pressed briefly, and (b) the surface has a dry, chalky matte appearance. Rushing this step creates soft, poorly-crystallized layers that dent under pressure.
Monitor weight gain every 5 layers
Remove a 20-piece sample, weigh, and compare to starting core weight. After every 5 layers, expected cumulative weight gain is 7–11%. Log every check against the same starting weight so the whole series stays on one basis. If gain is below target, increase syrup per application by 5 g/kg.
Repeat for 20–30 total layers
Continue the apply-dry cycle until the batch reaches 40–45% weight gain over the starting core weight, which puts the core at 69–71% of the total piece weight. At 24 g/kg that lands between layer 23 and layer 26; a leaner rate needs more layers. Stop there — Stages 3 and 4 add the remaining mass.
Stage 3: Smoothing Coat
After 20–30 engrossing layers, the dragée surface is slightly rough and pitted — each syrup application reinforces the underlying texture rather than filling it. Smoothing uses 65 Brix syrup (more dilute than engrossing) applied in 4–6 thinner layers. The lower syrup concentration means more water per application, which slightly dissolves micro-peaks on the surface and redeposits sugar in the valleys, progressively reducing roughness.
Prepare 65 Brix smoothing syrup
Dissolve 650 g sucrose in 350 g water at 80°C. Hold at 75°C during use. Alternatively, thin the 72 Brix engrossing syrup with hot water. Adding water changes only the denominator — the dissolved solids stay put — so the addition is mass × (start Brix − target Brix) ÷ target Brix. Taking 1000 g of 72 Brix syrup to 65 Brix therefore needs 1000 × (72 − 65) ÷ 65 = 108 g of water, giving 1108 g of syrup still carrying the original 720 g of sugar.
Apply smoothing layers
Apply 15–20 g of 65 Brix syrup per kg of dragée per layer (slightly less than the engrossing rate). After each application, allow 20 minutes of drying with 40°C air. The smaller syrup volume reduces the risk of clumping during this critical surface-perfecting stage.
Assess surface quality after each layer
After each smoothing layer, remove 5 pieces and examine under a bright light. Rotate the piece slowly: irregular light reflection indicates surface roughness. Continue smoothing until the surface reflects light uniformly from all angles. Typically 4 layers suffice for well-executed engrossing; 6 layers may be needed if Stage 2 was rushed.
Stage 4: Coloring
Color is applied in 2–4 layers using a sucrose syrup (60–65 Brix) carrying either an opacifier (for white dragée) or food-grade soluble colorants. Color layers are thinner than engrossing layers — their purpose is pigment deposition, not mass building. The opacity of white dragée depends on opacifier concentration: 1.5–2.5% of syrup weight is standard for titanium dioxide.
Opacity is a light-scattering problem, and scattering depends on how far the particle’s refractive index sits from the medium around it. Sugar syrup is about 1.5. Titanium dioxide is 2.55–2.7, which is why it whitens so efficiently at low dose. Calcium carbonate is 1.49–1.66 and rice starch about 1.52–1.54 — both nearly index-matched to the syrup they sit in, so each particle scatters a tiny fraction as much light. Substituting is not a matter of nudging the dose up by a third. Commercial replacers need roughly five to ten times the material, and usually one or two extra color layers on top of that, which in turn shifts your weight-gain arithmetic and your drying schedule. Plan for a thicker, warmer, slightly less brilliant white rather than a match.
| Color | Pigment / Colorant | Typical Loading | Notes |
|---|---|---|---|
| White (classic) | Titanium dioxide (E171) | 1.5–2.5% of syrup weight | Not authorised in the EU; still permitted in GB and the US |
| White (EU-compliant) | Calcium carbonate (E170) | 8–15% of syrup weight | Far weaker scatterer; budget extra color layers |
| White (EU-compliant) | Rice starch or calcium phosphate | 8–12% of syrup weight | Softer, warmer white; viscosity rises sharply |
| Pink / Red | Carmine (E120) or beet red | 0.1–0.3% of syrup weight | pH-sensitive; carmine is insect-derived, so not vegetarian |
| Blue | Brilliant blue FCF (E133) | 0.05–0.15% of syrup weight | Highly concentrated; dilute carefully |
| Green | Tartrazine + Brilliant blue blend | 0.1–0.2% combined | Blend proportions determine shade; tartrazine triggers a label warning |
| Yellow | Tartrazine (E102) or sunset yellow (E110) | 0.1–0.2% of syrup weight | Light-stable; both trigger a mandatory label warning |
| Ivory (natural) | Annatto extract (E160b) | 0.3–0.5% of syrup weight | Natural option; warm yellow-white |
Color System Reference for Almond Dragée
Titanium Dioxide Regulatory Status
Commission Regulation (EU) 2022/63 removed titanium dioxide (E171) from the EU list of permitted food additives. It entered into force on 7 February 2022, and the transition period for product already lawfully on the market closed on 7 August 2022.
The scope is narrower than “banned in Europe” suggests, and getting it wrong in either direction is expensive:
- EU and Northern Ireland — not authorised. Reformulate.
- Great Britain — E171 remains authorised. England, Scotland and Wales did not follow the EU withdrawal, and the Committee on Toxicity concluded in 2024 that current UK dietary exposure is unlikely to pose a risk.
- United States — permitted under 21 CFR 73.575 at up to 1% by weight of the food. A petition to revoke that listing is pending, and Texas SB 25 requires a warning label on products containing it from 1 January 2027.
Verify the rule for each market you ship to, and remember that a single white dragée recipe may need two versions.
Six Colours Carry a Mandatory Label Statement
Tartrazine (E102) and sunset yellow FCF (E110) — both recommended above, and tartrazine again in the green blend — require the statement “may have an adverse effect on activity and attention in children” on the finished pack. This comes from Annex V of Regulation (EC) No 1333/2008 and applies in the EU and in Great Britain alike. Four other colours carry it: quinoline yellow (E104), carmoisine (E122), ponceau 4R (E124) and allura red AC (E129).
There is no use level below which the statement is waived in confectionery. If a warning-free label matters more than shade accuracy, build yellows from annatto (E160b), curcumin (E100) or safflower, and reds from beet or paprika extract instead.
Prepare colored syrup
Dissolve sucrose at 65 Brix, then add pigment or colorant while the syrup is at 60°C. Stir until completely uniform — any pigment clumps will create streaks on the dragée surface. For titanium dioxide, use a high-shear mixer or immersion blender to fully disperse the powder.
Apply first color layer
Apply 12–18 g of colored syrup per kg of dragée. The layer should be thinner than engrossing applications to avoid color bleeding. Dry for 20–25 minutes at 38–42°C with airflow. After drying, the color should be uniform but may appear slightly translucent.
Build opacity with additional layers
Apply 2–4 color layers total. Each successive layer increases opacity and color depth. Check color uniformity after each layer by spreading 20 pieces on a white surface under neutral light. Reject if more than 5% of pieces show color variation greater than one shade.
Final drying before polish
After the last color layer, allow extended drying: 45–60 minutes at 35°C with gentle airflow. The color surface must be completely dry and hard before polishing. Any residual moisture will trap under the polish coat and create cloudy patches.
Stage 5: Polishing
Polishing is the final stage and requires the least material but the most patience. A thin film of carnauba wax or shellac is applied to the dry, colored surface. The mechanical action of the rotating pan, combined with the friction between pieces, buffs the film to a high gloss. Carnauba wax (E903) is the standard for hard dragée — it produces an exceptionally bright finish, and with a melting range of 80–86°C it stays hard through normal warehouse and retail temperatures. Shellac (E904) gives a slightly warmer, amber gloss and is preferred for some traditional products.
The two are applied by different routes, and this is where most first attempts go wrong. Shellac dissolves readily in food-grade ethanol and is applied as a solution. Carnauba does not — it is practically insoluble in ethanol at working temperatures and only partially soluble in boiling ethanol, so there is no such thing as a stable ethanolic carnauba solution. Carnauba reaches the pan either as micronised wax powder dusted directly onto the tumbling mass, or as a ready-made aqueous or oil-based wax dispersion.
Cool the batch completely
Before polishing, allow the batch to equilibrate to 18–22°C. Warm dragée (>25°C) absorbs wax unevenly and produces a dull, patchy finish. Run the pan without heat for 15 minutes after Stage 4 if the room is warm.
Apply carnauba wax or shellac
For carnauba: dust 0.05–0.1 g of micronised wax powder per kg of dragée directly onto the tumbling mass, or apply 0.5–1.0 g per kg of a 5–10% aqueous or oil-based wax dispersion — both routes land 25–100 mg of actual wax per kg, well inside the EU limit. For shellac: apply 1.0–2.0 g of a 20–30% ethanolic shellac solution per kg, in a slow thin stream while the pan rotates at 14–18 RPM. Never pour a solution — it must evaporate as it distributes.
Polish by pan rotation
Once the carrier has evaporated (3–5 minutes for a solution or dispersion; powdered wax needs no drying), the film is distributed across all pieces by the tumbling action. Increase pan speed slightly to 18–22 RPM for 8–12 minutes. Heat from friction is sufficient to soften and redistribute the wax evenly. No external heat source is needed.
Assess gloss and discharge
Remove a handful of pieces and examine. A properly polished dragée has a uniform, mirror-like gloss with no dull patches or white spots. If gloss is uneven, apply a second micro-dose (0.2 g/kg of dispersion) and rotate for 5 more minutes. Discharge the batch onto trays lined with parchment; avoid stacking while warm.
Carnauba Carries a Numeric Limit — the Other Glazing Agents Do Not
Under EU additive rules, E903 carnauba wax is capped at 500 mg/kg in confectionery and in coatings (categories 05.2 and 05.4). It is the exception among glazing agents: beeswax (E901), candelilla (E902), shellac (E904) and microcrystalline wax (E905) are all permitted at quantum satis in these categories. Codex sets carnauba lower still, at 400 mg/kg.
The practical trap is the basis. A dose quoted in grams per kilogram almost always refers to the dispersion or solution, not the wax — 1.0 g/kg of a 10% dispersion is 100 mg of wax per kg, comfortably compliant, while 1.0 g/kg of neat wax is double the limit. Write the wax basis on your batch sheet, not the dispersion basis.
Calculator Walkthrough: Planning Your Batch
The Dragée Calculator models the coating geometrically: you describe the core, stack the layers you intend to apply, and it returns the mass that geometry implies. It works in deposited solids, not in syrup — converting between the two is one line of arithmetic you do yourself, shown in step 4. The walkthrough below plans a 5 kg almond charge.
Describe the core
Set core density to 1.05 g/cm³ and batch weight to 5,000 g. The calculator offers sphere, cube and irregular cores but no ellipsoid, so enter an almond as a sphere of equal volume rather than by its longest dimension: a 20 mm × 11 mm × 8 mm almond has a volume of 0.92 cm³, which is the volume of a 12.1 mm sphere. Enter 12.1 mm. Use the minimum and maximum diameter fields to describe your actual size spread — they widen the piece-count estimate rather than changing the average.
Read the piece count and core mass
The calculator returns core weight per unit and the number of pieces in the batch, with a range reflecting the size spread you entered. For this core it is 0.97 g per piece and 5,133 pieces in 5 kg. Every per-piece figure downstream — coating mass, cost, pieces per kilogram — hangs off this number, so confirm it against a real 100-piece count before trusting the rest.
Stack the layers
Add one layer per stage, each with its coating ingredient and its total thickness in millimetres. The calculator models bands, not single charges: it treats any layer under 0.1 mm as an error, so the 25 engrossing charges at about 0.02 mm go in as one 0.5 mm sucrose band. The gum seal and the polish are too thin to model and, at around 1% and well under 0.1% of core weight, barely move the totals. Density comes from the ingredient record, not from you. The calculator returns each layer's volume and mass, the total coating weight per piece, total batch weight, and the coating's share of the finished piece — which is how you check the ratio you set out to hit.
Convert deposited solids into syrup
The calculator gives deposited solids; your ladle measures syrup. Divide by the Brix fraction to bridge them. The 0.5 mm engrossing band comes back at about 0.40 g per piece, 2.05 kg across 5,133 pieces, or 82 g of solids per charge over 25 charges. At 72 Brix that is 82 ÷ 0.72 = 114 g of syrup, about 23 g per kg of batch, inside the 20–30 g/kg working band. The hand estimate above gives 0.43 g per piece and 44% gain (about 122 g of syrup per charge); the calculator lands about 7% lower, mostly because an equal-volume sphere has less surface than the real almond. Plan from either, and let the 20-piece weight checks decide.
Total the batch and cost it by hand
Summing all five stages for this example gives about 2.95 kg of coating on 5 kg of cores — a finished batch near 8 kg, with coating at roughly 37% of finished weight and about 650 pieces per kilogram. Costing is not part of the calculator; price the coating materials from the batch economics table below. At the commodity prices used there, total material cost works out near $0.012 per piece.
Close the loop against the pan
Geometry predicts; the scale decides. Weigh a 20-piece sample every five layers and compare the gain against the plan. Consistent under-delivery means your real layers are thinner than the ones you entered — raise the syrup per application by 5 g/kg, or add layers, and update the layer thickness in the model so the next batch starts from what your pan actually does.
Panning Parameters by Stage
| Stage | Pan Speed (RPM) | Air Temp (°C) | Syrup/Solution per Layer | Drying Time per Layer | Layers |
|---|---|---|---|---|---|
| 1. Gum arabic seal | 12–14 | 35–40 | 12 g/kg almonds | 10–12 min | 1–2 |
| 2. Engrossing (72 Brix) | 12–16 | 40–45 | 20–30 g/kg batch | 15–25 min | 20–30 |
| 3. Smoothing (65 Brix) | 12–14 | 38–42 | 15–20 g/kg batch | 18–22 min | 4–6 |
| 4. Coloring (65 Brix + pigment) | 12–14 | 38–42 | 12–18 g/kg batch | 20–25 min | 2–4 |
| 5. Polish (wax/shellac) | 14–22 | Ambient | 0.5–1.0 g/kg dispersion (≈25–100 mg wax/kg) | 8–12 min (rotation) | 1 |
Pan Operating Parameters — 60 cm Coating Pan, 5 kg Almond Core Batch
Pan Speed and Batch Fill
A 60 cm coating pan should be filled to 40–50% of its volume with product. Underfilling causes excessive piece-to-piece impact (edge chipping); overfilling reduces tumbling and leads to uneven coating. Adjust RPM within the given ranges based on actual batch behavior — you should see smooth cascading, not tumbling chaos or slow sliding.
Quality Checkpoints
Weight gain tracking is the primary quality control tool in dragée panning. It is objective, fast (under 2 minutes per check), and directly tied to process success. Supplementary visual checks at each stage catch surface defects before they compound.
Every figure in the table below is cumulative gain measured against the starting core weight — the same denominator from the first check to the last. Mixing that basis with “percentage of finished weight” partway through a run is the single most common way a panning log stops adding up, because the two diverge sharply as the shell builds: 60% gain on the core is only 37% of the finished piece.
| Stage | After Stage | Weight Gain Target | Visual Check | Pass/Fail Criterion |
|---|---|---|---|---|
| Sealing | Stage 1 complete | 0.8–1.2% | Uniform matte surface, no bare spots | All pieces have continuous gum film |
| Mid-engrossing | Layer 12–13 | 20–24% | Even white/opaque coating, no clumps | No pieces stuck together; surface uniform |
| End of engrossing | Layer 20–30 | 40–45% | Smooth matte white, no pitting | Surface roughness ≤ moderate under bright light |
| After smoothing | Stage 3 complete | 49–54% | Mirror-quality surface potential | Uniform light reflection across all surfaces |
| After coloring | Stage 4 complete | 54–59% | Uniform color, no streaks or bare patches | < 5% pieces with color deviation |
| After polishing | Stage 5 complete | 54–59% (wax negligible) | High gloss, no dull patches | Gloss uniform across 100% of surface area |
Quality Checkpoints by Coating Stage — Cumulative Gain on Starting Core Weight
Total Batch Economics
For the 5 kg core batch planned above — roughly 8 kg of finished dragée — the following material budget applies. Quantities are the dry solids that actually end up on the product, not the syrup mass through the ladle; the water evaporates and costs nothing but energy. Labor and overhead are excluded, as these vary too widely by production context. Material cost is the controllable variable in dragée economics.
| Material | Quantity | Typical Cost ($/kg) | Total Cost ($) |
|---|---|---|---|
| Roasted almonds (5 kg core) | 5.00 kg | $12.00 | $60.00 |
| Sucrose (all stages, as deposited solids) | 2.90 kg | $0.80 | $2.32 |
| Gum arabic powder (sealing) | 0.05 kg | $18.00 | $0.90 |
| Opacifier (titanium dioxide basis) | 0.007 kg | $4.00 | $0.03 |
| Carnauba wax (neat wax basis) | 0.001 kg | $35.00 | $0.04 |
| Total material | 7.96 kg | — | $63.29 |
| Finished product | ~7.96 kg | $7.95/kg | ~650 pieces/kg |
Material Budget — 5 kg Almond Core Batch (Approximate Commodity Prices)
Price Colorants Individually
The opacifier line above is priced as food-grade titanium dioxide, which runs roughly $2–5/kg — cheap enough that at 7 g per batch it barely registers. Do not carry that figure across to other colours. Tartrazine runs about $3–10/kg in bulk, while carmine is $60–150/kg and volatile with the Peruvian cochineal harvest. Even at carmine’s price the line stays under a tenth of a dollar per batch, so the conclusion below holds regardless of shade — but a single blended “colorant” price hides a fortyfold spread and will mislead you the moment you scale.
Why Almond Cost Dominates
In almond dragée, the almond itself represents about 95% of total material cost at commodity prices. Sugar coating is cheap relative to the nut, and the lighter the shell, the more the nut dominates. This means cost optimization focuses on: (1) minimizing almond waste during sorting and panning, (2) achieving the exact target coating weight — neither under- nor over-coating, and (3) maximizing yield (pieces per kg). Planning the layer stack before the pan starts turning is what protects the margin; the sugar you save by trimming a layer is worth far less than the almonds you lose to a rejected batch.
Troubleshooting Common Defects
Coverage faults that any dragée can show (flat spots, doubles, rough or chipped shells, colour streaks) have their own diagnostic guide, linked below. The table keeps only the defects specific to this almond schedule.
| Defect | Likely Cause | Stage of Origin | Corrective Action |
|---|---|---|---|
| Peeling or flaking coating | Poor gum arabic adhesion or high almond aw | Stage 1 | Verify almond aw is within 0.28–0.32; increase gum concentration to 45% |
| Weight gain below target | Syrup quantity per layer insufficient | Stage 2 | Increase application rate by 5 g/kg; add 2–3 additional layers |
| Soft coating (dents under pressure) | Insufficient drying between layers | Stage 2 | Extend drying time; check air temperature and flow rate |
| Dull finish after polishing | Residual moisture or insufficient rotation time | Stage 5 | Extend pre-polish drying; increase polish rotation to 20 min |
Almond-Specific Defects and Corrective Actions
Dragée Coating Is Uneven: Diagnosing Coverage Problems
Flat spots, doubles, rough shells, chipping and colour streaks traced to charge size, pan speed, core shape, temperature and drying.
Frequently Asked Questions
How many layers of sugar do professional almond dragées have?
Why must almonds be roasted before panning?
What is the difference between 65 Brix and 72 Brix syrup in panning?
Can I replace carnauba wax with another polish?
What causes the sugar coating to crack after storage?
How does the Formul.io calculator help plan the coating weight ratio?
Related Topics
Related Articles
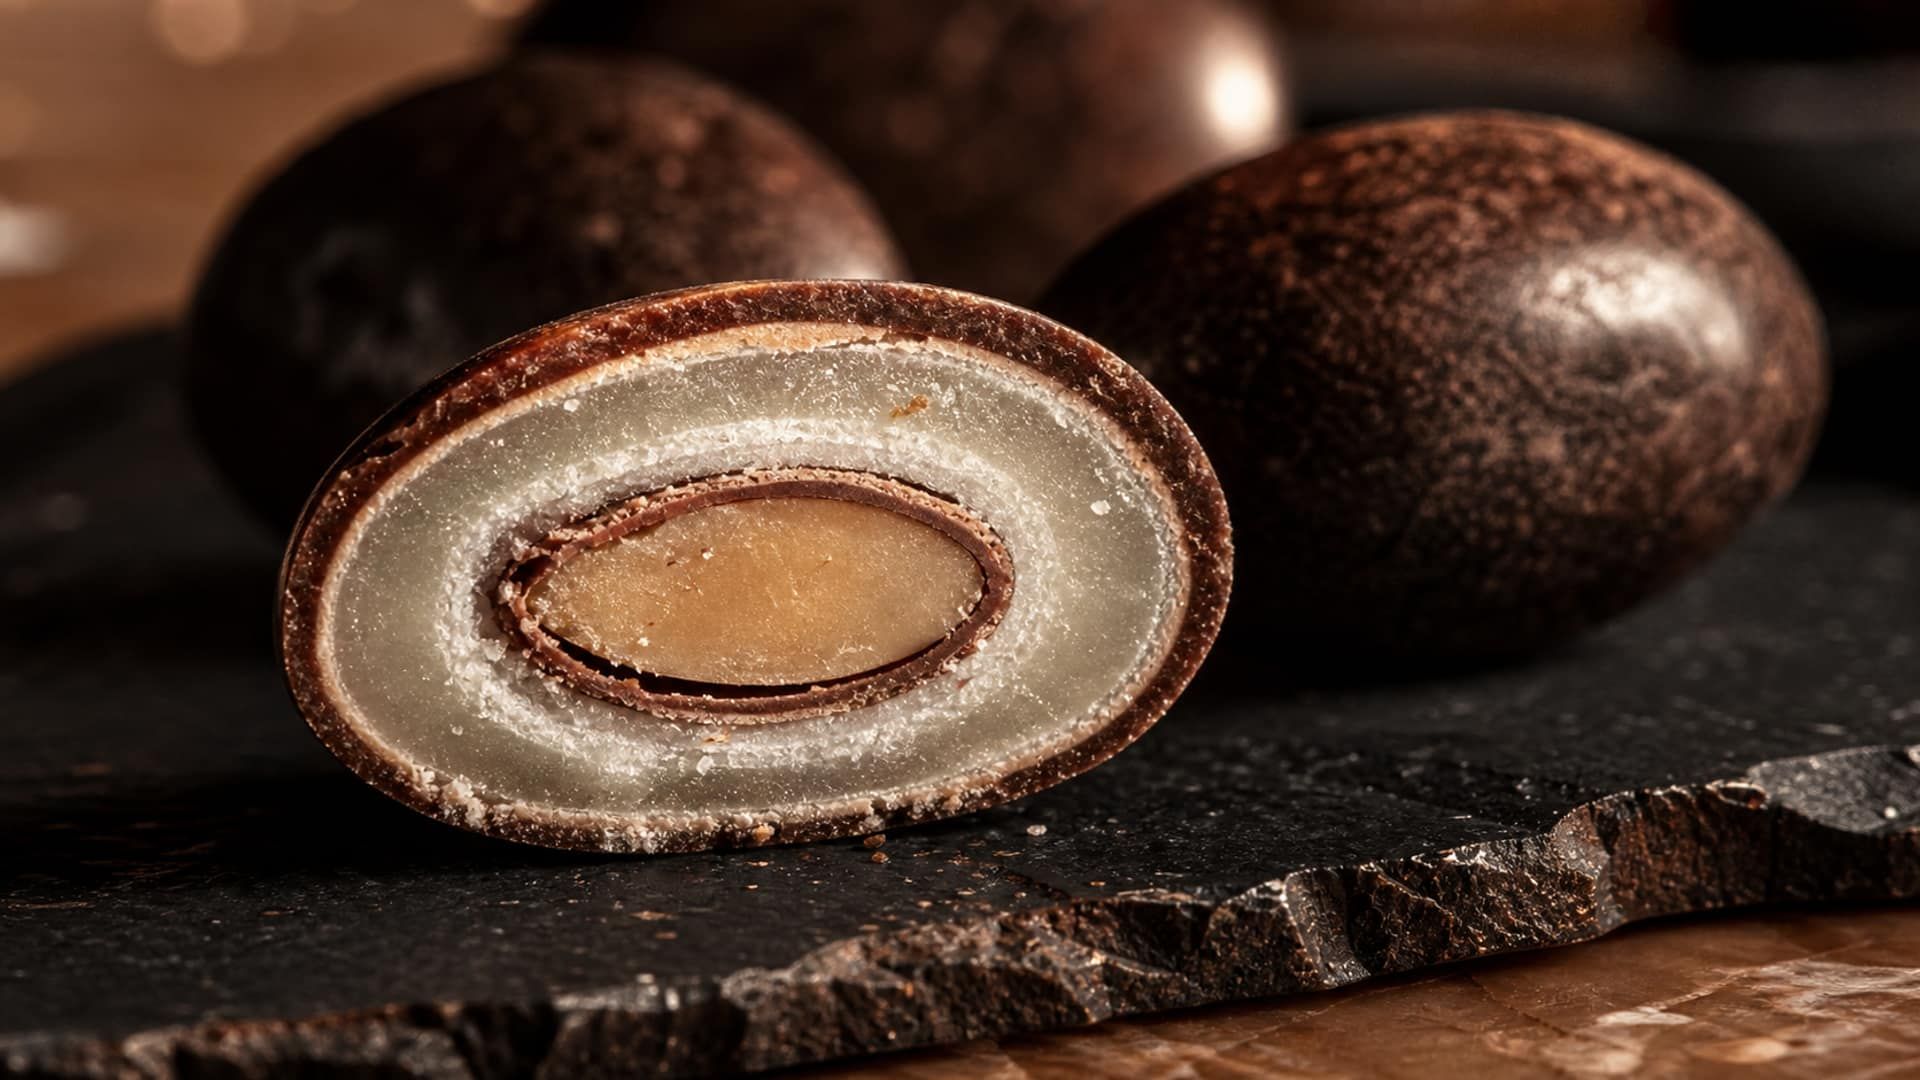
Dragée Coating Weight: How Much Coating Each Layer Needs
A coating layer weighs its shell volume times its density, and shell volume grows with the cube of the radius. How to calculate layer and batch coating weight for a dragée, with a worked sphere example.
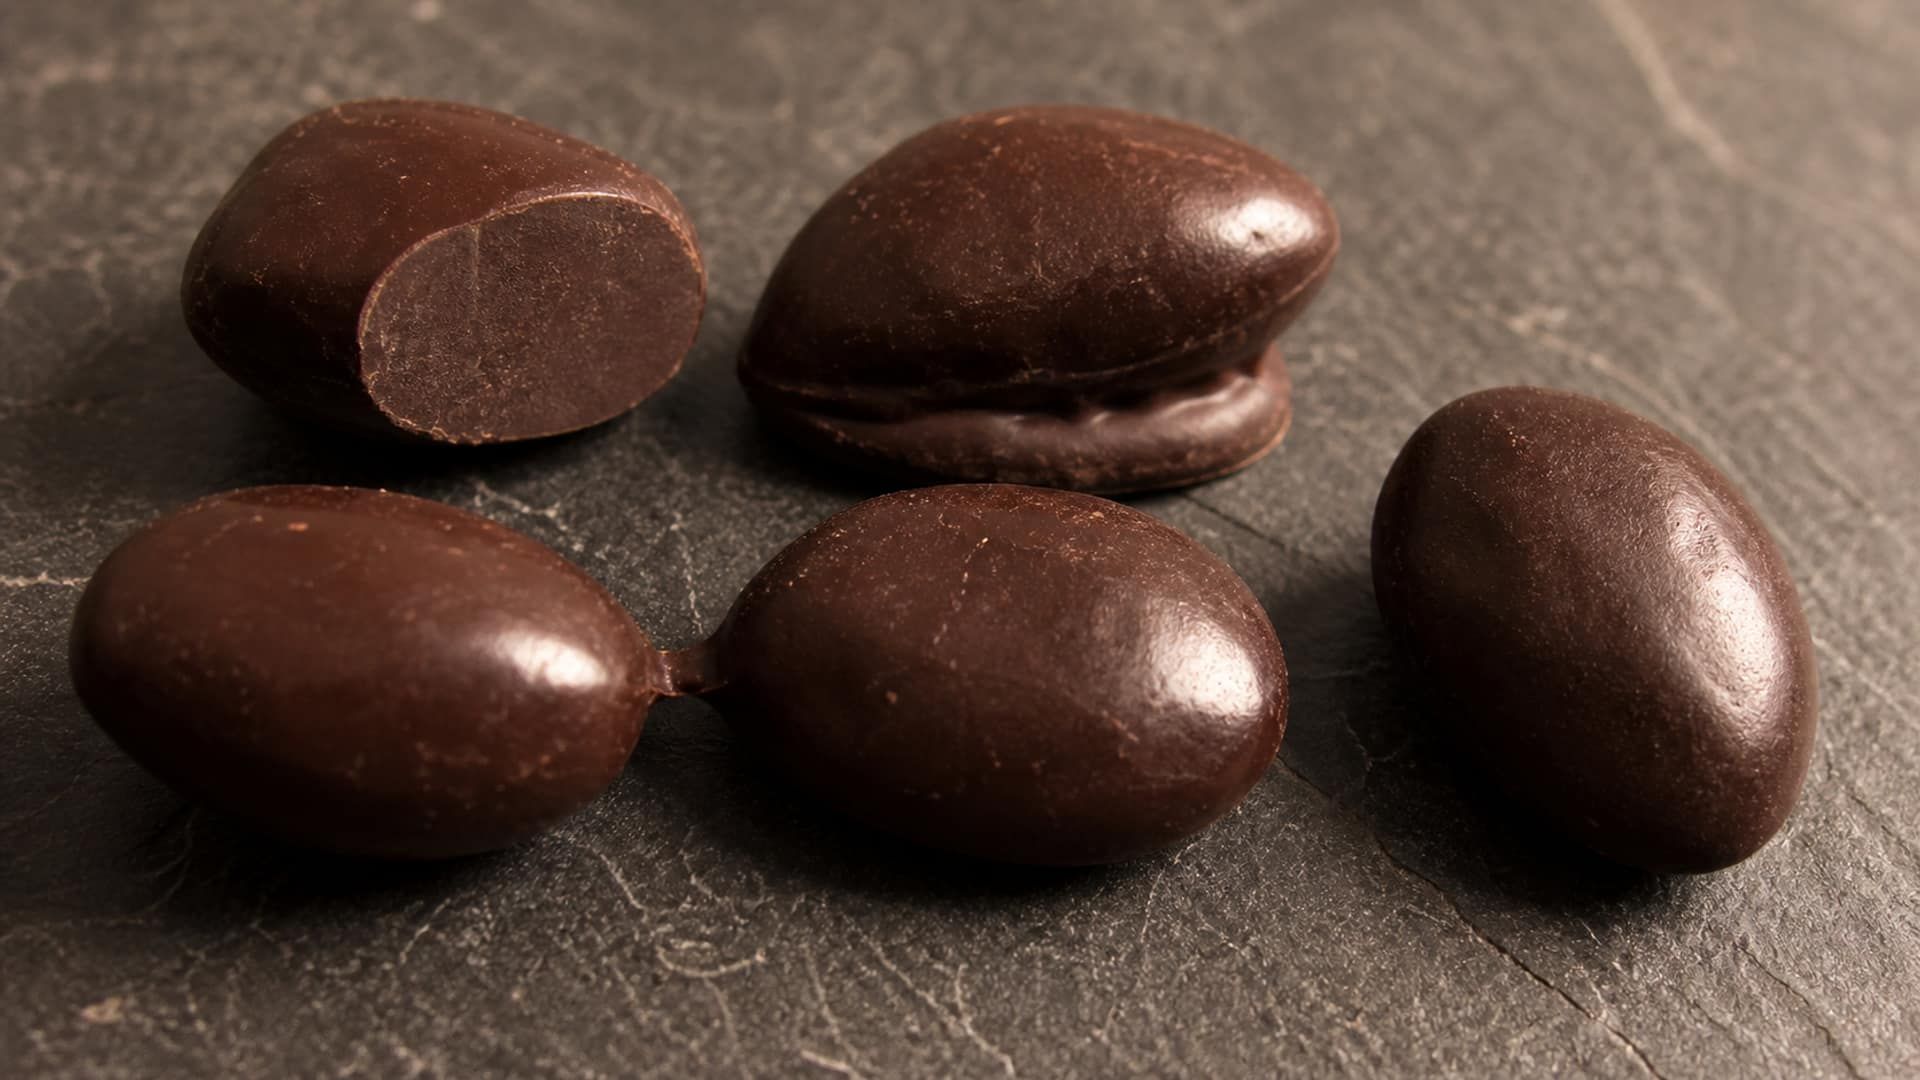
Dragée Coating Is Uneven: Diagnosing Coverage Problems
Flat spots, doubles, rough shells or colour streaks in dragée panning? Diagnose each defect by root cause (charge size, pan speed, core shape, temperature and drying) and fix it.
How to Cost a Confectionery Recipe: Price per Gram to Food Cost %
Cost a confectionery recipe by hand: price per gram, yield loss, cost per piece, food cost percentage, markup versus margin and break-even, worked through on a batch of dark ganache truffles.